 Save on Pinterest
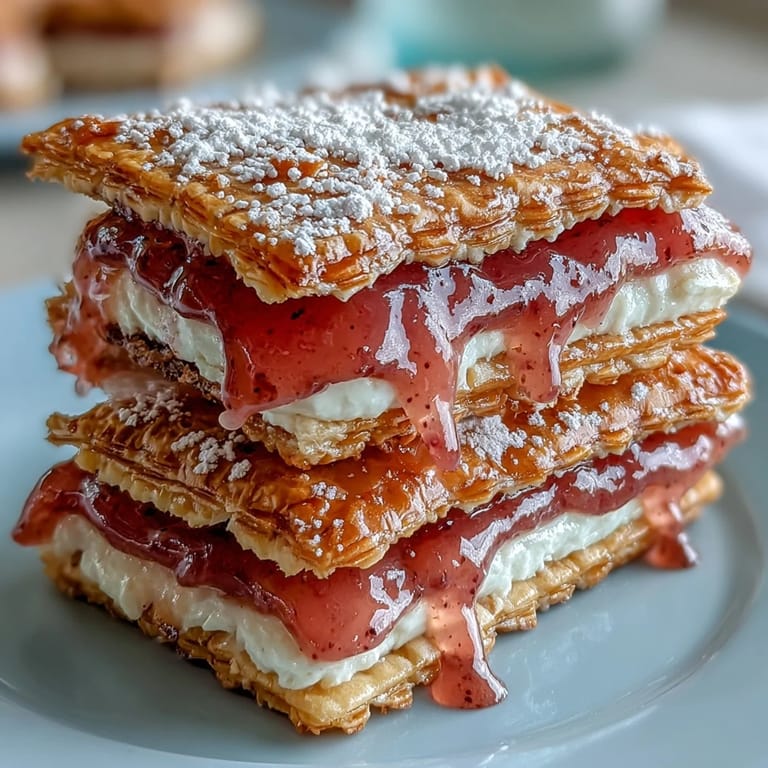
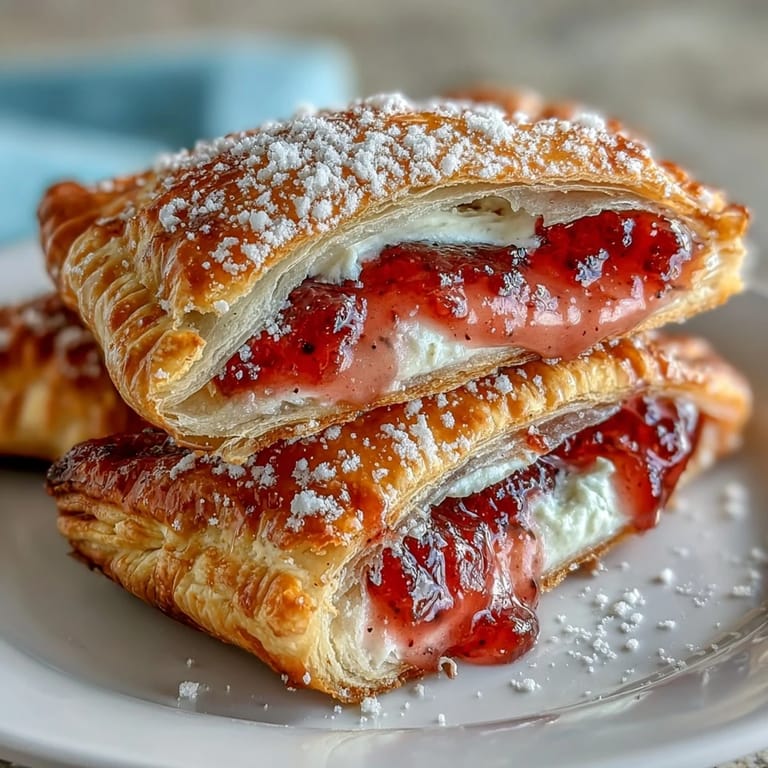
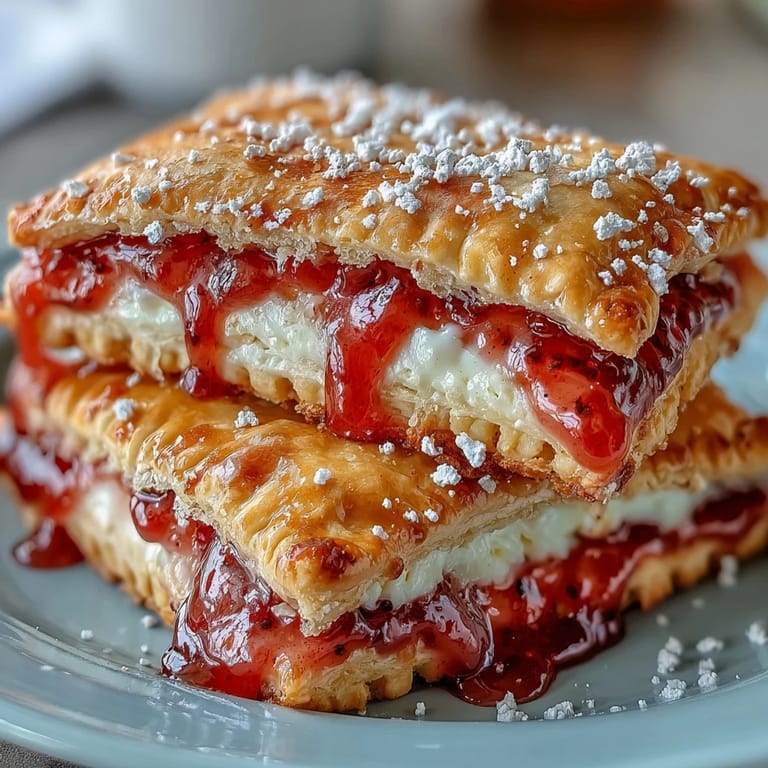
 My neighbor brought over a box of homemade guava pastries last summer, and I couldn't stop thinking about the way the filling burst with tartness against the buttery crust. That afternoon, sitting on the porch with the heat settling in, I decided I'd crack the code on making something similar at home. What started as a casual experiment turned into these guava cheese pop tarts, a grown-up version of a childhood breakfast favorite that somehow tastes even better when you've made the pastry yourself. The creamy cheese mellows the guava's sharp edge, and the glaze catches the light like stained glass.
I made these for my daughter's school bake sale, and watching her friends' faces when they bit into one was worth every minute of dough-rolling. One kid came back thirty minutes later asking if we'd be selling more because he'd already eaten his and regretted not getting a second one. That kind of reaction—the quiet surprise when something homemade tastes genuinely good—is why I keep making these.
Ingredients
- All-purpose flour (2 1/4 cups): The foundation of everything; make sure it's measured by spooning into a cup and leveling, not scooping straight from the bag, or you'll end up with tough pastry and regret.
- Unsalted butter, cold and cubed (1 cup): Non-negotiable—cold butter is what creates those tender, flaky layers, so keep it in the freezer until the last possible moment.
- Ice-cold water (1/3 cup): Temperature matters here; I learned this the hard way when warm water turned my pastry into a dense hockey puck.
- Guava paste or jam (3/4 cup): Look for paste that's thick and concentrated rather than runny jam; the texture difference changes everything about how the filling behaves.
- Cream cheese, softened (4 oz): Room temperature cream cheese blends smoothly and keeps the filling from becoming gritty or separating.
- Powdered sugar (2 tablespoons for filling, 1 cup for glaze): The double use here adds sweetness to both the filling and the final glaze, balancing guava's tartness.
- Vanilla extract (1/2 teaspoon for filling, 1/2 teaspoon for glaze): Just enough to whisper in the background without announcing itself.
- Large egg (1 for egg wash): This gives the pastry that deep golden finish and helps seal the edges so filling doesn't leak out.
- Milk (2-3 tablespoons for glaze): Adjust until the glaze reaches that perfect pourable consistency, thick enough to coat but thin enough to drip.
- Pink or red food coloring (optional): A drop or two makes the glaze look intentional and pretty without being overwhelming.
Tired of Takeout? 🥡
Get 10 meals you can make faster than delivery arrives. Seriously.
One email. No spam. Unsubscribe anytime.
Instructions
- Make the pastry base:
- Whisk together flour, sugar, and salt in a large bowl, then add your cold butter cubes and work them in with a pastry blender or your fingertips until the mixture looks like coarse breadcrumbs with some pea-sized pieces of butter still visible. This texture is what gives you those lovely flaky layers when it bakes.
- Bring the dough together:
- Sprinkle ice water over the flour mixture gradually, stirring gently with a fork until the dough just barely comes together without being wet or sticky. Divide it in half, flatten each piece into a disk, wrap in plastic, and refrigerate for at least 30 minutes so the gluten relaxes and the butter stays cold.
- Prepare the filling:
- Beat the softened cream cheese with powdered sugar and vanilla until completely smooth and creamy, then set aside in a small bowl. This simple mixture becomes something almost luxurious when paired with guava's bright flavor.
- Roll and cut the pastry:
- On a floured surface, roll one chilled dough disk to about 1/8-inch thickness, keeping the edges as even as possible, then cut into 8 rectangles roughly 3 by 4 inches. You're aiming for rustic rectangles, not perfect squares, because that's more charming anyway.
- Fill the tarts:
- Place 1 teaspoon each of guava paste and cream cheese mixture in the center of 4 rectangles, leaving a clear border so the edges can seal properly. The key is restraint here—overstuffing means filling leaks out during baking and your pastry won't seal.
- Seal and crimp:
- Brush the borders of the filled rectangles with beaten egg, then top each one with a plain rectangle and press the edges firmly to seal them together. Use a fork to crimp around all four sides, which both seals the edges and creates a decorative pattern that says you cared.
- Chill before baking:
- Transfer your assembled tarts to a parchment-lined baking sheet and refrigerate for 10 minutes so the pastry firms up and won't shrink too much in the oven. This small pause makes a noticeable difference in the final structure.
- Bake with egg wash:
- Preheat the oven to 375°F, brush the tops of the chilled tarts with egg wash, and prick each one with a fork to allow steam to escape. Bake for 22 to 25 minutes until they're a deep golden brown and smell absolutely incredible.
- Cool completely before glazing:
- Let the baked tarts cool completely on the baking sheet before moving them, as warm pastry is delicate and will break apart. This waiting period also prevents the glaze from melting off.
- Make and apply the glaze:
- Whisk powdered sugar, milk, and vanilla together until you have a glaze that's pourable but still coats a spoon, then add food coloring if you want that rosy finish. Drizzle or spread it over the completely cooled tarts and let it set for a few minutes before serving.
 Save on Pinterest
 There's something genuinely special about biting into pastry that shatters under your teeth and releases both guava and cheese in the same breath. These pop tarts somehow feel both indulgent and simple, a dessert breakfast item that nobody expects to be homemade, which is exactly why they're so satisfying to make.
Variations That Work
Guava and cream cheese is a classic pairing, but this formula adapts beautifully to whatever fruit jam you have on hand. Strawberry with a whisper of lemon zest, apricot with a tiny pinch of cardamom, even raspberry with dark chocolate paste—the pastry and technique stay the same while the filling transforms completely. I once made a batch with passion fruit curd instead of guava, and it was brighter and tangier, which some people preferred to the original.
Storage and Make-Ahead Wisdom
These keep beautifully in an airtight container for up to three days, though they taste best on the first day when the pastry still has some snap to it. You can also assemble the tarts, freeze them on a baking sheet, then bake straight from frozen, adding just a few extra minutes to the bake time. The dough freezes perfectly too, so if you find yourself making this once, you might as well double the batch and have pastry disks ready for the next craving.
The Little Details That Matter
Crimping the edges with a fork isn't just decorative—it seals the layers tightly and prevents filling from escaping during baking, which I learned after my first batch leaned heavily toward leaking. Pricking the tops with a fork also allows steam to escape evenly, so you get a crispy finish instead of a puffy middle with a collapsed top. Those small techniques are what separate homemade pastry that looks and tastes intentional from something that seems like an accident in the kitchen.
- Let your cream cheese soften completely before mixing, or you'll end up with lumpy filling that doesn't spread smoothly.
- If your dough seems warm or sticky at any point, pop it back in the refrigerator for a few minutes—patience rewards you with better pastry.
- The glaze sets within a few minutes, but waiting just a little longer before serving makes it less likely to smudge on fingers or run onto a plate.
 Save on Pinterest
 These guava cheese pop tarts have become the thing I make when I want to feel like a baker without spending hours in the kitchen. There's real comfort in knowing you can create something this good with your own hands, and that comfort is worth every minute.
Recipe Questions & Answers
- → Can I use store-bought pie crust instead of homemade?
Yes, refrigerated pie crust dough works perfectly as a time-saving alternative. Roll it out and follow the same cutting and filling instructions. The texture will be slightly different but still delicious.
- → What can I substitute for guava paste?
Strawberry, apricot, or raspberry preserves make excellent substitutes. Mango paste also works well if you want to maintain the tropical flavor profile. Look for thick fruit spreads that won't leak during baking.
- → How should I store these pastries?
Keep in an airtight container at room temperature for up to 2 days. For longer storage, refrigerate for up to 5 days, though the crust may soften slightly. You can also freeze unbaked pastries for up to 3 months—bake from frozen, adding a few extra minutes.
- → Why did my filling leak out during baking?
This usually happens if the dough edges weren't sealed properly or the filling was overfilled. Make sure to brush edges with egg wash and crimp firmly with a fork. Also, avoid overfilling—1 teaspoon of each filling is sufficient. Chilling the assembled pastries before baking helps prevent leaking.
- → Can I make these ahead of time?
Absolutely. You can prepare the dough and filling up to 2 days in advance. Store the dough wrapped in the refrigerator and keep the filling components separate. Assemble, chill, and bake when ready. The glaze can be made a day ahead and stored at room temperature.